Royal Cruising Club review
The following review was posted by Jason Lawrence of the 'Royal Cruising Club' in the UK.
Multihull Seamanship (second edition) published by Fernhust books
"In my experience, one of the pleasures of buying a multihull was the new learning curve that it presented. Having previously sailing only 'monomorans', I needed to rethink my sailing, going back to basics, breaking down well-known techniques into elemental parts and remodelling them into a new paradigm.
The first edition of Le Sueur's Multihull Seamanship was one of the books I read at that time.
With a deep experience of different multihull designs and years of multihull cruising and racing, Le Sueur had written a book that no only outlines some of the most common techniques that the reader would likely to need but also some that one would hope never to need! When I had finished reading it, I started to understand how I should be thinking about handling my multihull, rather than just following general written advice. I started to think about the vessel and its interaction with the forces around it: How one action, say on sail trim, could change the dynamic on another, say dagger board loading. This led to a greater understanding of load dynamics in developing conditions, ensured a more comfortable ride on board and resulted in less wear ona tear on gear.
This new edition of Le Sueur's book must be a recommended read for anyone on the multihull journey.
docgav on 11.13.18 @ 10:23 PM EST [link]
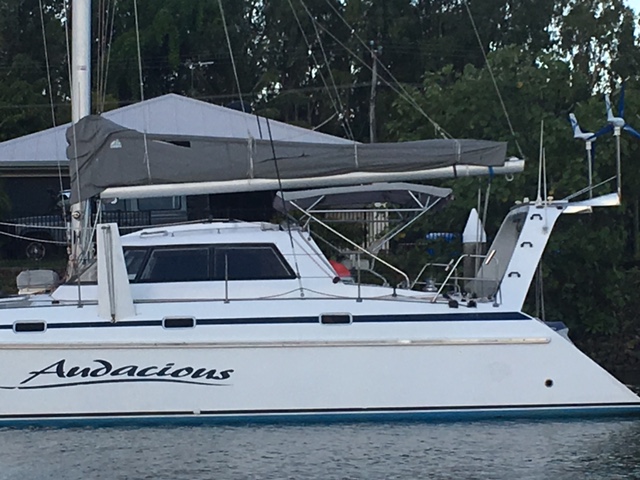
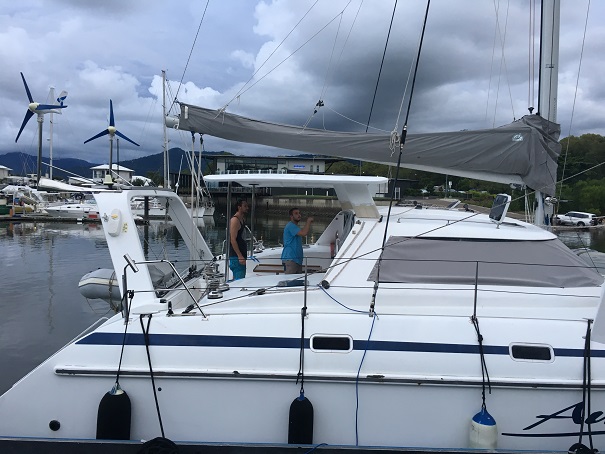
 The clears are designed to open and close readily on zips at the front. The sides roll up and a full sun protection is zipped onto the clears for blockout. Seems to work a treat!
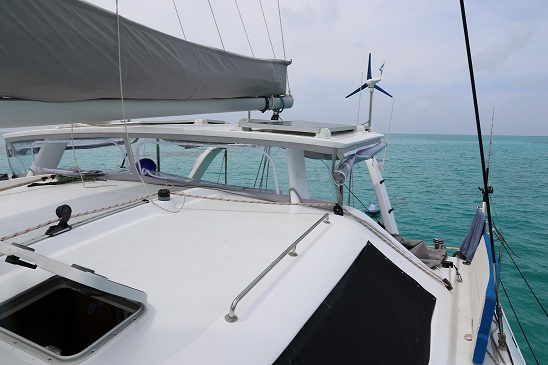
 All wiring is internal in the foam. There are three solar panels, lighting for the cockpit and BBQ and a sliding pilot hatch which give the helmsman a panoramic view of the sails
 It was a labour of love and the final fit and painting took a significant time. Eventually clears, solar panel, pilot hatch and wiring were completed. Now to make the most of it. Our goal was to make the hardtop to a standard that looks like she was original to the design. Critics would say we have added weight. We have, but at the benefit of increased usability. We can reef faster, safer and quicker - and unreef similarly. Maintenance does not need to be delayed and it is sooooo much better in the cockpit. Cooler, more room, no leaks! We removed 43 kg of stainless, bolts screws and canvas. We have added 54 of foam, glass and clears. I think I can wear 11 kg and not have the extra jerry can on back up fuel...
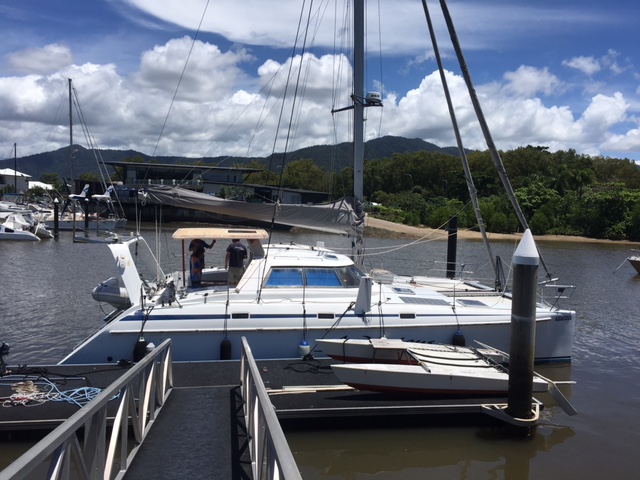
 The aft supports will be two polished 50mm stailess poles to compliment the steelwork on the stern (wind generators) and give the rigidity to the span.
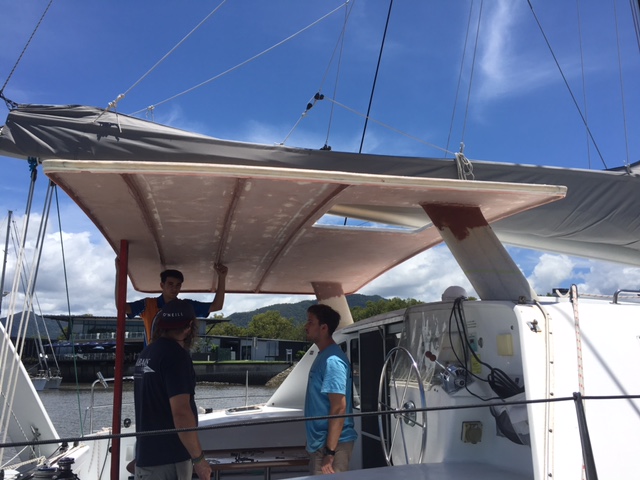
 With the composite front supports now in place we fitted the hardtop to determine the aft support pole lengths. The flex is minimal and the span strength seems more than adequate even without the composite poles secured.
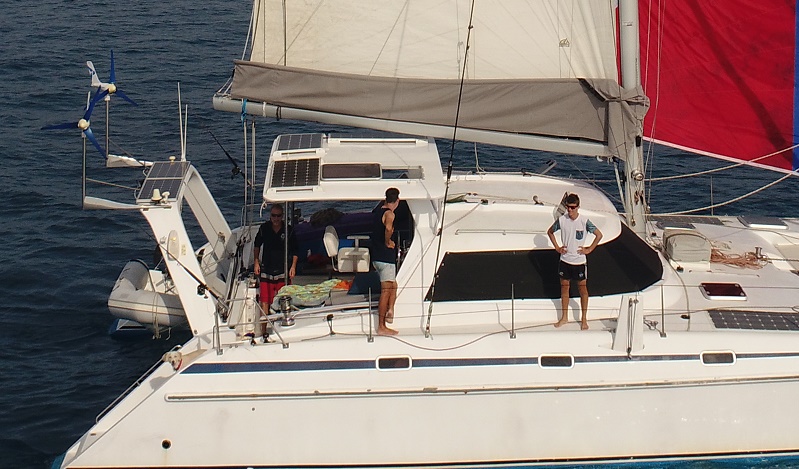
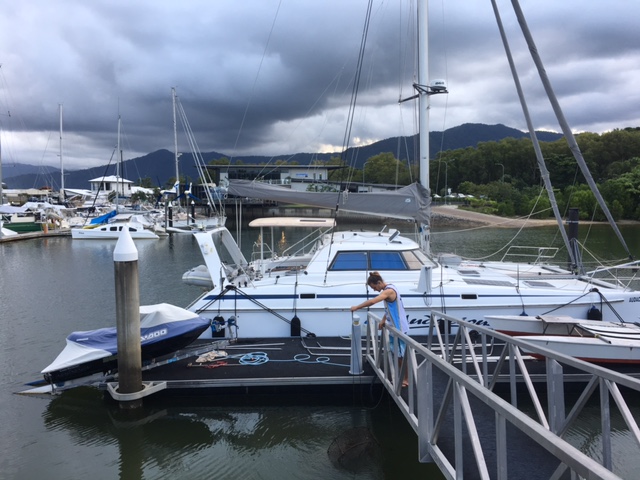 With the hardtop now glassed it was time to position it aboard to ensure the heights and slopes are correct. The forward attachment will be a composite foam glass strut and the back corners two carbon fibre poles. The project has guided and helped by Michael, a good friend who has shared many adventures with us over the years. His professional advice and have a go attitude has pushed the project forward as a steady rate.
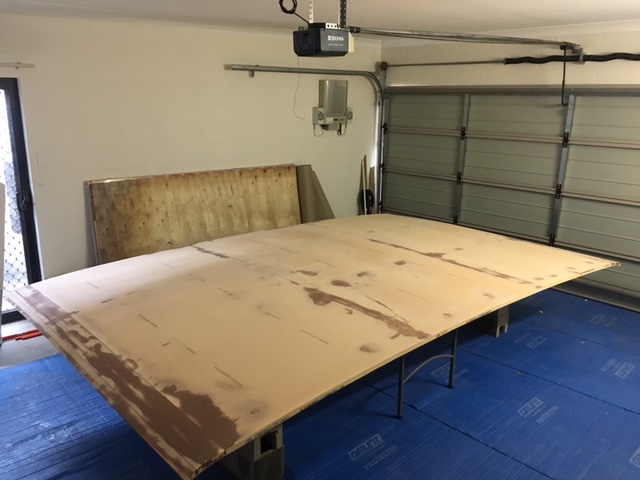
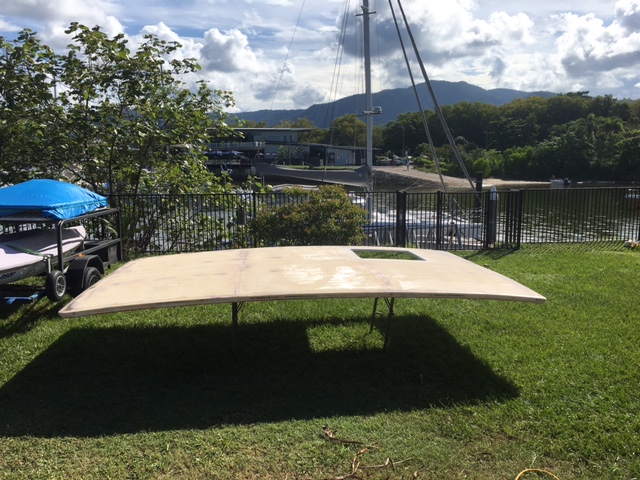 The new hardtop, glassing complete and ready for fairing and painting, has been baked in the tropical sun to increase the stiffness. The pilot hatch has been cut out to the template and the edges cut back in the foam 20mm and replaced with glass rovings/epoxy glue to maintain the strength and stiffness.
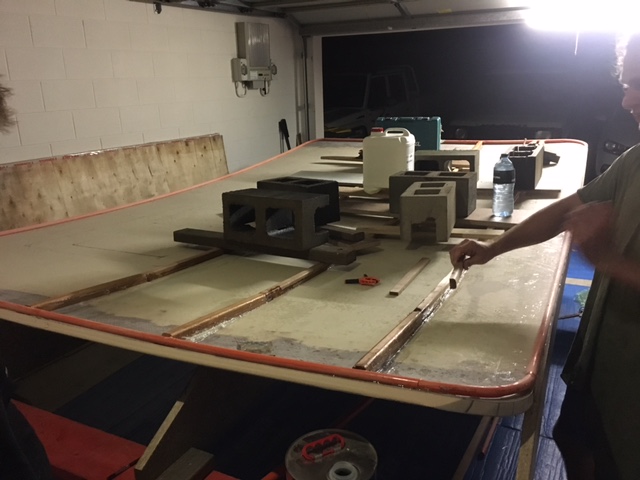
 With this inside laid up we flipped the top, position and checked the curve with the template for the jig and prepare for the top layup.
 Initial layup was 400g unidrectional then 600g double bias. We are using R180 epoxy resin with slow hardner. The carport is air conditioned (blasted in from the house) to keep the wet season heat down a tad.
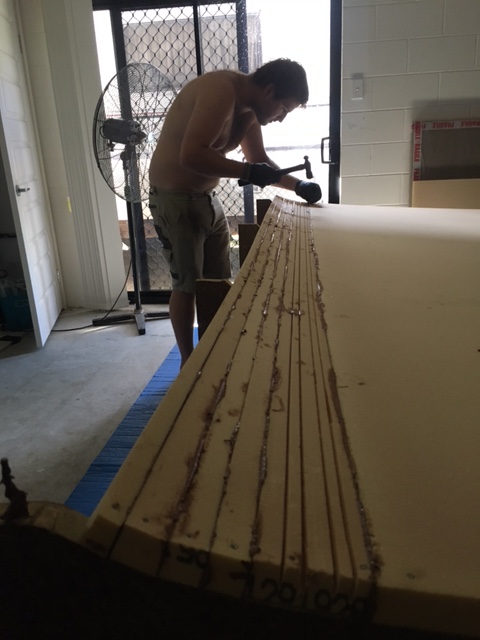 The foam was nailed down with small bullet head nails to the jig. These will pull through once we have glassed the inside of the roof.
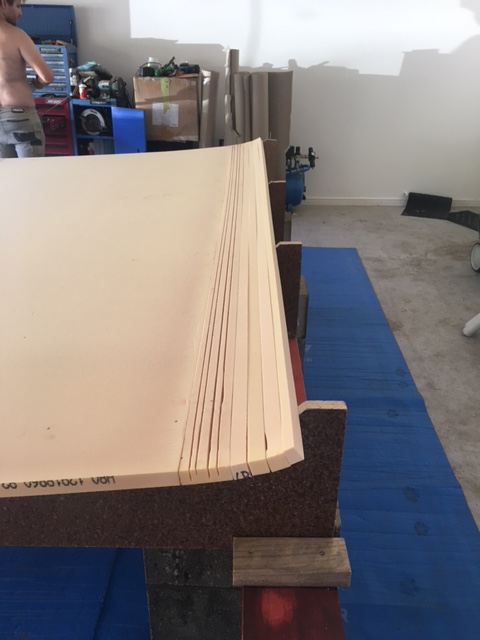 We shaped the foam onto the jig, kerfing where needed to get the tighter angles